A commuter e-bike that gets ridden five days a week will eat a shop tune-up every couple of months. Do the math on that and home e-bike maintenance stops being a hobby and starts being the cheapest thing you can do for the bike. I've been a bike mechanic for 15 years, an e-bike commuter for 7, and I've watched more motors and batteries get ruined by a loose bolt, a dry chain, and a pack left at 100% in a hot garage than by anything electronic.
The good news is that the routine is not complicated. It's about 40 minutes a month, one stand that can hold a loaded bike steady, and a set of checks you do in the same order every time. This is that routine, plus the two pieces of gear that make it possible in a garage or a spare room.
Why you should trust me
I ran a shop bay for most of my twenties, and for the last several years my own commute has been electric. I've converted more bikes than most shops will see in a decade, and I keep a logbook of which motors fail and at what mileage, which is how I learned that most of what people call "motor failure" is really a connector that rubbed through or a battery that was abused.
My rules are simple. No opinion on a bike without real miles on it. No range claim without testing at three assist levels. No talk of a battery being "fireproof," because batteries are chemistry, not marketing. What follows is maintenance, not a spec sheet, and it applies to any hub-drive or mid-drive commuter you can lift onto a stand.
What a home service setup has to handle
An e-bike is not a road bike with a battery bolted on. It weighs 50 to 70 pounds, the wheels and tires carry more load, the brakes do more work, and there are cables and connectors that a normal tune-up never touches. That changes what you need:
- A stand rated well above the weight of your bike, because a stand that sags under load makes every job harder and more dangerous.
- A clamp that grabs the seatpost, not a brake hose, a shifter cable, or a battery cable.
- Enough height adjustment that you are not bent over at the derailleur for 20 minutes.
- A rotating clamp so you can spin the bike to reach the drivetrain without unclamping and reclamping.
You also need a torque wrench, a chain wear gauge, hex keys, tire levers, a pump with a gauge, and chain lube. Those are the basics. The two items below are the ones people put off buying and then wonder why the job takes twice as long.
The gear you need before you start
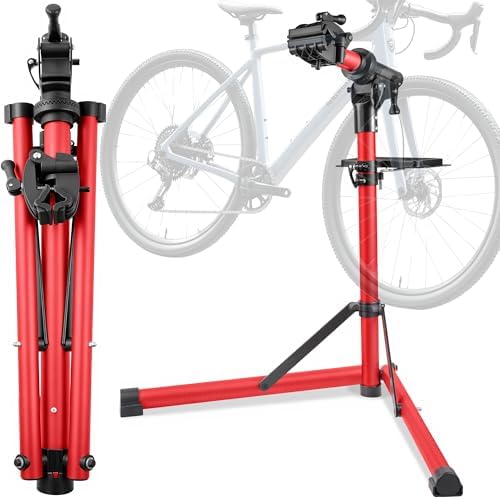
Our pick: Heavy Duty E Bike Repair Stand 110lbs, Bicycle Workstand Maintenance
 Visit on Amazon →
The weight rating is the whole point here. A repair stand built for a 25 pound road bike will hold an e-bike, sort of, until you lean on a pedal to break a crank bolt loose and the whole thing walks across the floor. A stand rated to 110 pounds gives you margin over a loaded commuter plus the force you apply with a wrench, and margin is what keeps a 60 pound bike from landing on your shin.
Look at how the clamp closes before you buy anything. You want a clamp that grips the seatpost firmly without crushing it, and you want it to reach the post without the bike's own cables fighting it. On an e-bike with a battery in the downtube, clamping the frame is a bad idea, so the clamp jaw and the stand height are doing real work.
Flaws but not dealbreakers: A stand in this class is not a folding travel accessory. It has a footprint, it wants a level floor, and it lives in the garage. Measure your space before it arrives.
Anyone servicing a commuter at home, or anyone who has been flipping a bike upside down on the driveway and scratching the display, should start here.
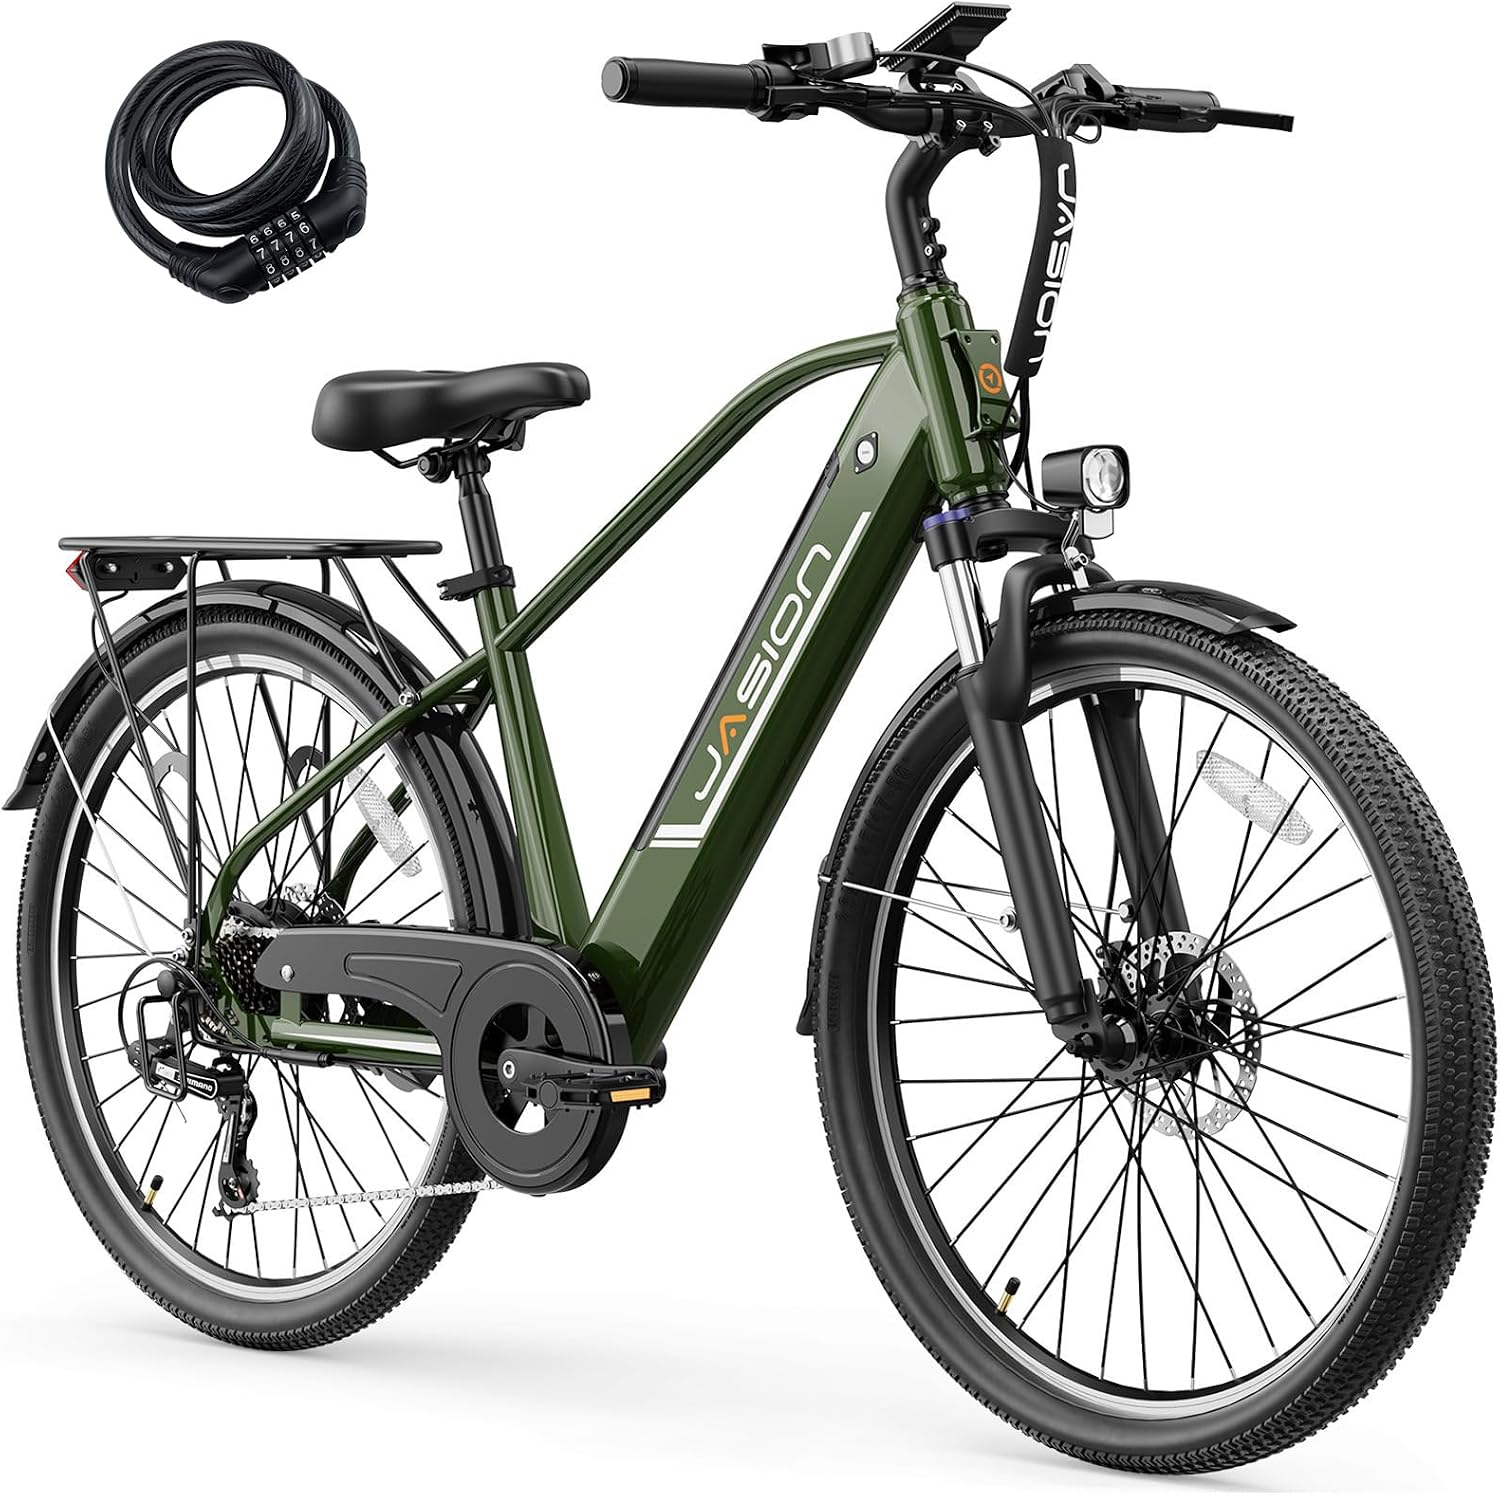
Budget pick: Jasion Roamer/ST eBikes for Adults, 26" 528WH Electric Bikes for Adults
 Visit on Amazon →
If you are reading this before you own an e-bike, this is the class of commuter the routine below was written for: a 26 inch wheel bike with a 528WH pack, the kind of machine that gets you to work and back without a car payment. The bigger the pack, the more the battery care section matters, because a 528WH battery is a lot of stored energy to leave sitting at 100% in a hot garage all summer.
Here is the honest part, and I say it about every e-bike sold online: ask about battery certification before you buy. A pack that carries UL 2271 and a bike that carries UL 2849 is a bike you can charge indoors with a clear conscience. If a listing cannot tell you that, keep looking. That rule applies to this bike and to every other one in the category.
Flaws but not dealbreakers: Direct-to-consumer e-bikes mean you are the dealer. You will be the one adjusting the derailleur out of the box and checking every bolt, which is exactly why this guide exists.
Anyone who wants a commuter they can service themselves, with standard parts and a wheel size every shop stocks, will get along fine with this kind of bike.
The actual maintenance workflow
Do these in order. It takes about 40 minutes once you know the bike.
Step one: Clamp it correctly. Put the bike in the stand by the seatpost. Never clamp a brake hose, a cable housing, or a battery wire. If the seatpost is carbon, use the lowest clamping force that holds the bike and never clamp above the minimum insertion line.
Step two: Battery out. Pull the pack before you start wrenching, both for safety and because a lighter bike is easier to work on. Look at the contacts for corrosion or dark spots. Look at the pack itself for swelling, a bulging case, or a smell that is not quite right. Any of those means stop and get the pack looked at by the manufacturer.
Step three: Wheels and tires. Spin each wheel and watch the rim at the brake pads for wobble. Squeeze pairs of spokes to find the loose one. Check tire pressure with a gauge, not by thumb, because an e-bike runs higher pressure than a pedal bike to carry the extra weight. Run a finger inside the tread for glass and check the sidewalls for cuts.
Step four: Brakes. Check pad thickness and replace pads before the backing plate touches the rotor. Look at the rotor for scoring and check that it is not warped by spinning the wheel and watching the gap. Squeeze the lever and make sure it feels firm and does not come back to the bar.
Step five: Drivetrain. Drop a chain wear gauge into the chain. If it reads past the wear mark, replace the chain before it eats the cassette. Clean the chain, dry it, and lube it one link at a time. Check the derailleur hanger alignment, because a bent hanger on an e-bike makes every shift feel like the motor is fighting you.
Step six: Bolts and torque. This is the step that separates e-bike maintenance from regular bike maintenance. Motor mount bolts, rack and fender hardware, stem bolts, handlebar clamp, seatpost clamp, and the axle nuts all loosen from vibration on a bike that runs at motor speed. Use a torque wrench and the values printed on the parts or in the manual. Do not guess with your wrist.
Step seven: Cables and connectors. Follow the wiring harness from the display to the motor and from the battery tray to the controller. Look for chafing where a cable passes a frame edge, a zip tie that has gone tight enough to pinch, and any connector that has worked loose. A whining motor at full assist is often a loose plug, not a dying motor.
Step eight: Test ride. Ride at the lowest assist level first and listen. Then run it at full assist on a clear stretch and feel for hesitation, brake rub, and anything that clicks under load. If something changed during the service, you know which step caused it.
Battery care: the part most people get wrong
The battery is the heart of the e-bike, and it is the part you cannot inspect by eye once it is sealed. What you can control is how you treat it.
- Charge in a room with a working smoke detector, on a hard surface, and never on a couch or a pile of laundry.
- For daily commuting, keep the pack between roughly 20% and 80%. Charge to 100% the night before a long ride, not every night.
- If you are storing the bike for the winter, leave the pack around half charge and top it back to half every couple of months.
- Heat is what kills capacity. A pack left in a hot car or a sun-baked garage loses range permanently, and no charger will bring it back.
- Cold is temporary. Range drops in winter and comes back when the pack warms up, so charge indoors when the temperature is near freezing.
- Never charge a pack that is swollen, wet, or damaged. That is a chemistry problem, not a maintenance problem.
Brakes and the 28 mph problem
A Class 3 e-bike goes 28 mph, and stopping 60 pounds of bike and rider from that speed is a different job than stopping a road bike from 15. Pads wear faster, rotors get hot, and a lever that felt fine in the driveway can fade on the first long descent of the season.
When you install new pads, bed them in. Ride up to speed and brake firmly down to a walking pace a handful of times, without coming to a full stop, then let everything cool. That transfers an even layer of pad material to the rotor and it is the difference between brakes that bite and brakes that howl. If your bike has hydraulic brakes, plan on a fluid service every year or two, and do it before the lever starts feeling spongy rather than after.
How often to do what
- Weekly: tire pressure, brake lever feel, a spin of both wheels, and a look at the battery charge level.
- Every 100 to 150 miles: clean and lube the chain, wipe the frame down, check pad wear.
- Monthly or every 300 miles: the full workflow above, including the torque check on motor, rack, and stem bolts.
- Seasonally: chain wear gauge, battery capacity check, a close look at every cable and connector.
- Annually: headset and bearing check, brake fluid if hydraulic, and a full battery health assessment.
What this saves you
A shop that knows e-bikes charges more than a shop that does not, because the work is heavier and there is more of it. Two tune-ups a year is the baseline for a daily commuter, and every one of those visits is a week without the bike if the shop is backed up.
A stand and a torque wrench replace most of that labor permanently. You still want a shop for wheel building, hydraulic bleeds if you don't want to learn them, and anything involving a battery that has started to behave strangely. But the monthly routine, the thing that actually decides whether the bike lasts five years, is yours to own.
The bottom line
Home e-bike maintenance is eight steps, a stand that holds the bike steady, and a habit of treating the battery like the expensive component it is. Get the stand, learn the torque values, keep the chain clean, and check the bolts every month. Your commuter will outlast the warranty, and you will stop paying someone else to tighten what you could have tightened yourself.