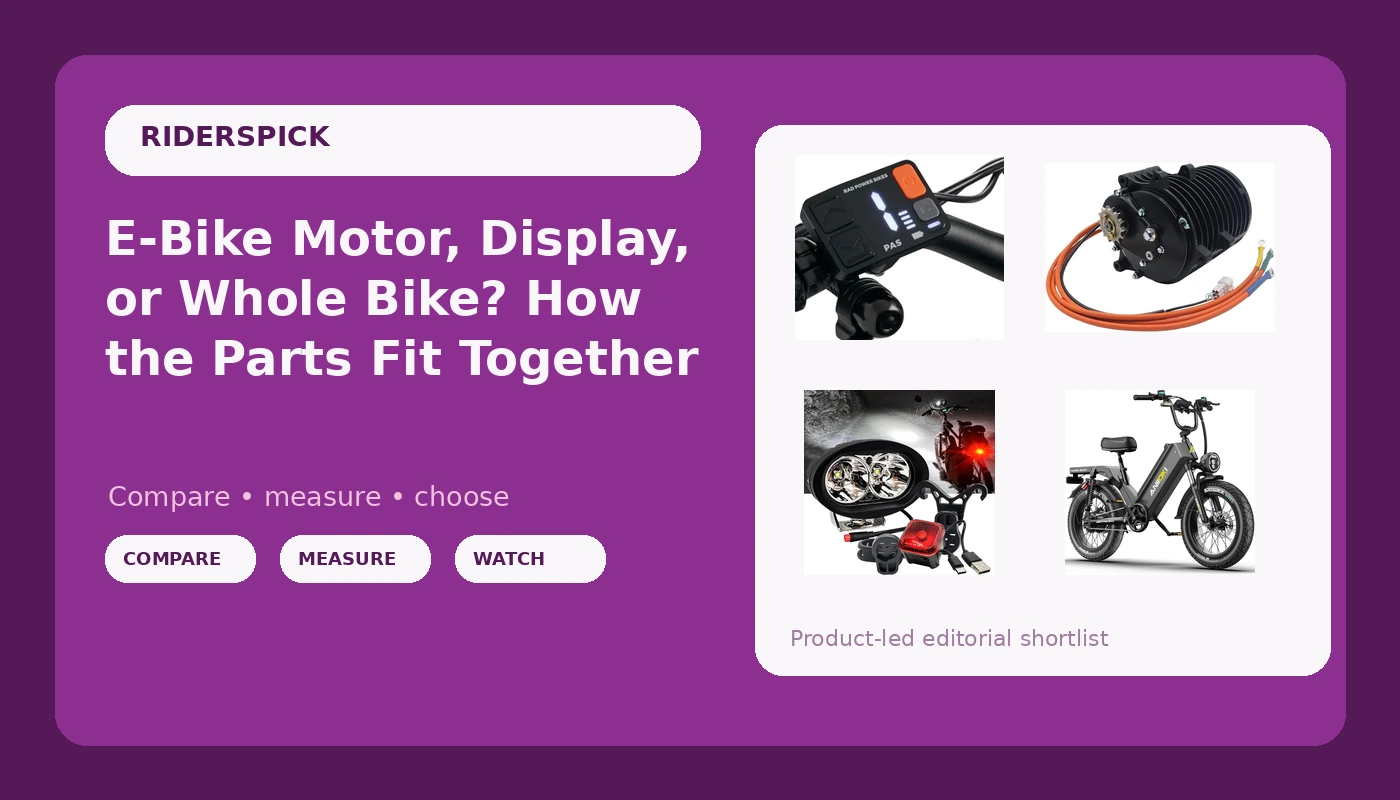
Most people who write to me about an e-bike motor and display upgrade are not really asking about parts. They are asking one of three questions. Should I fix the bike I already own? Should I build one up from a frame? Or should I just buy a complete bike and ride it? Those three questions have three different answers, and the right answer depends on which system on the bike is actually failing you.
An e-bike is four systems stacked on one frame: the battery, the motor, the controller and its display, and the safety hardware that keeps you visible and stopping. When one of those is weak, the whole bike feels weak, and upgrading the other three will not hide it. This guide walks through a complete commuter e-bike, a display panel, a mid-drive motor, and a lighting kit, and explains which one solves which problem.
Related: Hub Motor vs Mid-Drive: Which One Fits Your Commute →
Quick answer
Match the part to the problem, not the other way around. If you already own a bike that runs and you want to build or repair a drive system, a mid-drive motor is the core component. If the bike runs fine but you cannot read your assist level, speed, or battery state at the bars, the display and controller interface is the fix. If the bike is mechanically sound and the real problem is being seen after dark, lighting is the fix. And if you do not own an e-bike yet, a complete bike gets you riding with the fewest compatibility traps, because the parts were selected to work together before you ever opened the box.
4 useful options
| Model | Best fit | What stands out |
|---|---|---|
| ANIIOKI eBikes for Adults, 200+ Miles Long Range Electric Bike, 28 MPH High Speed Commuting Ebikes, 48V 60AH Electric Bicycles | Riders who want one complete bike and no assembly guesswork | 48V 60AH battery pack and a listed 28 MPH top speed |
| Rad Power LCD Display Meter 48V Ebike Speed Control Screen Panel with Waterproof 5-pin Male Connector | Replacing or adding a display on a compatible 48V system | Waterproof 5-pin male connector |
| Mid Drive Motor, QS138 70H 3000W V3 100kmh PMSM Mid-Drive Motor with 1:2.35 Internal Reduction Gears for Electric Motorcycle Moped Dirtbike | DIY builds and electric motorcycle, moped, or dirtbike projects | 1:2.35 internal reduction gears |
| OZ-USA E-Bike High-Output White LED Headlight & USB Rechargeable 4-Mode Smart Sensor Brake Light 12V - 60V Compatible with Vamoose Mammoth Rad Power Bikes RadMini RadRover RadExpand RadRunner | Visibility upgrades on 12V to 60V systems | 4-mode smart sensor brake light that recharges over USB |
The complete bike: ANIIOKI eBikes for Adults, 200+ Miles Long Range Electric Bike, 28 MPH High Speed Commuting Ebikes, 48V 60AH Electric Bicycles
A complete bike wins on one thing above all others: compatibility. The motor, controller, display, wiring harness, and battery were chosen together, so there is no pin count to match, no voltage to verify, and no bracket to fabricate. For a rider whose goal is getting to work on Monday, that matters more than any spec on a box.
The trade-off is that you inherit the builder's decisions. You do not choose the motor type, the display layout, or the light output. If something on the bike does not suit your commute later, you will be changing it anyway, which is exactly how the next three products in this guide end up on your workbench.
The display: Rad Power LCD Display Meter 48V Ebike Speed Control Screen Panel with Waterproof 5-pin Male Connector
Displays fail in predictable ways. Water gets into the housing, the connector corrodes, a button stops responding, or the screen simply fogs from the inside after a winter of commuting. When that happens, you are not shopping for a feature, you are shopping for a match. The 5-pin male connector and the 48V rating are the two numbers that decide whether this panel talks to your controller at all.
This is also the upgrade I recommend to riders who dislike their current bike's interface. A display change alters how the bike feels every time you ride it, without touching the motor or the battery. The catch is that displays are controller-specific, not universal, so a mismatch produces a dead screen or a bike stuck in one assist level.
The motor: Mid Drive Motor, QS138 70H 3000W V3 100kmh PMSM Mid-Drive Motor with 1:2.35 Internal Reduction Gears for Electric Motorcycle Moped Dirtbike
This is a builder's part, and I want to be blunt about that. A 3000W mid-drive is not a weekend bolt-on for a department store e-bike. It demands a frame that can take the torque, a battery and controller sized for the current it draws, a drivetrain that survives the load, and brakes that can actually stop what you have built. The 100 km/h figure that appears in the product name is a build-dependent number, not a promise that arrives with the motor.
Where it earns its place is on projects where the motor is the whole point: a moped conversion, a dirtbike, a cargo platform, or a purpose-built commuter that has to climb. The internal reduction gearing shapes how the power reaches the drivetrain, and the mid-drive layout lets the motor use your gears instead of fighting them.
The visibility kit: OZ-USA E-Bike High-Output White LED Headlight & USB Rechargeable 4-Mode Smart Sensor Brake Light 12V - 60V Compatible with Vamoose Mammoth Rad Power Bikes RadMini RadRover RadExpand RadRunner
Lighting is the upgrade riders put off longest and regret fastest. A 28 MPH bike closing on a driveway at 6 PM in November is invisible to a driver who is looking for a reflector. The wide 12V to 60V window means this kit is not tied to one bike's electrical system, and the USB-rechargeable brake light with its smart sensor can work independently of your main pack, which is useful on bikes whose controllers do not expose a brake light circuit.
The honest trade-off is that a battery-powered brake light needs charging, and a light you forgot to charge is a light that is not there. Put it on the same weekly routine as your phone, or wire the headlight to the main system and treat the rear light as the backup.
Prices and availability may change. Product images, names, and retailer links must be matched by verified ASIN. Do not state a current price, rating, stock status, or measured result without current evidence.
How the four systems on an e-bike actually connect
Everything on an e-bike runs through the battery. The pack feeds the controller, the controller sends current to the motor based on what the display tells it you want, and the display reports back speed, assist level, and state of charge. Lights and brake lights tap the same system, which is why voltage compatibility keeps showing up as a requirement.
That chain explains why a single weak link is so obvious from the saddle. A tired battery sags under load, so the motor feels weak even though the motor is fine. A controller with a mismatched display may refuse to power on or lock into a single assist level. A motor that is undersized for your terrain makes you work harder on the exact climbs you bought the bike for.
Voltage is the first number to check and the easiest to get wrong. A 48V system wants a 48V display and a controller that expects it. Lighting is more forgiving, which is why a 12V to 60V range covers most of the e-bikes people actually ride, including the Rad Power models named in this kit. Connectors are the second number: pin count and housing shape have to match, and no spec sheet will save you from a 5-pin male plug that does not fit a 5-pin female socket the way you assumed.
The last thing to understand is the difference between a hub motor and a mid-drive. A hub motor lives in the wheel and pushes the bike directly. A mid-drive runs through the pedals and uses your gears, which is why it handles climbs and heavy loads differently. Neither is wrong. They are answers to different questions.
A five step method before you spend anything
- Name the symptom, not the part. "It feels slow on my hill" and "the screen is dead" point at two completely different fixes.
- Check the battery first. Capacity loss and voltage sag cause more complaints than any motor or display ever will.
- Write down your system voltage and your connector type before you shop. Those two facts eliminate most wrong purchases.
- Decide whether you are repairing a bike or building one. Repairs stay in the same system. Builds let you choose the motor from scratch.
- Budget for the parts nobody mentions: brake pads, cabling, tools, and the hours it takes to do the job properly.
Practical guidance for commuters
- If your bike runs and you can see and stop reliably, do not upgrade the drive system. Spend the money on maintenance instead.
- Replace a display only when you have confirmed the connector and voltage match your controller.
- Treat any published range figure as a starting point. Your weight, your terrain, and your assist level set the real number.
- A brake light is not optional equipment on a bike that does 28 MPH. Neither are brake pads in good condition.
- A high-power mid-drive build is a project, not a purchase. Plan the battery, controller, drivetrain, and brakes as one system or do not start.
Which option should you choose?
Choose the ANIIOKI eBikes for Adults when you want one complete bike with the motor, battery, and display already matched and you would rather ride than wrench. Choose the Rad Power LCD Display Meter 48V when the bike is sound but the interface is not, and you have verified that the 48V rating and 5-pin connector match your harness. Choose the QS138 70H 3000W V3 mid-drive motor when you are building a moped, dirtbike, or high-torque conversion and you are prepared to size the rest of the system around it. Choose the OZ-USA headlight and brake light kit when the bike works and the only real problem is being seen.
None of these four replace each other. A complete bike is a starting point, a display is an interface, a motor is a drive system, and lights are safety equipment. Buying one when you needed another is the most common and most expensive mistake in this category.
One caveat worth stating plainly: every specification here comes from the manufacturer's own product listing. Voltage, connector type, wattage, and range figures should be confirmed against your specific bike before you order, because compatibility is decided by your hardware, not by a product title.
The bottom line
Buy the part that fixes the system that is actually failing. If you have no bike, a complete 48V commuter like the ANIIOKI gets you riding with matched components and no compatibility homework. If you have a bike and a dead or unreadable screen, the Rad Power 48V LCD display is the targeted repair. If you are building something with real torque, the QS138 mid-drive is the core of the project, and everything else gets sized around it. And if the bike is fine except that nobody can see you after dark, the OZ-USA lighting kit is the cheapest safety upgrade on this list. Check current Amazon price on each before you commit, then verify the voltage and connectors against your own bike.